Minecraft Server Properties Explained: Complete Setup & Optimization Guide (2026)
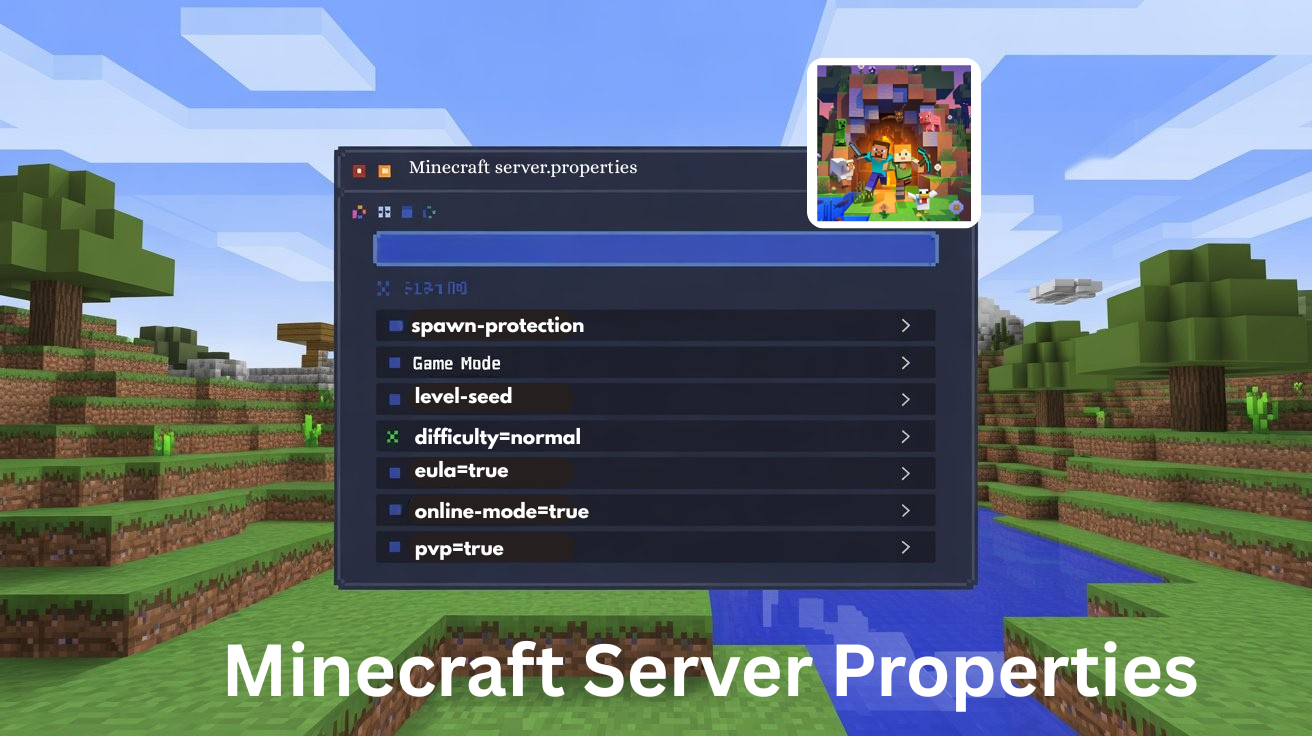
Minecraft servers rely on a wide range of configuration values that control gameplay behavior, world generation, networking, and performance. These values determine how players interact with the server and how the server responds under different conditions.
Managing these settings correctly is essential for maintaining stability, preventing common issues, and ensuring a consistent multiplayer experience. Incorrect values can lead to lag, connection problems, or unintended game mechanics.
This article provides a complete reference for Minecraft server configuration options found in server.properties, covering their purpose, impact, and recommended usage for different server types.
What is the server.properties File?
The server.properties file is the primary configuration file used by a Minecraft server to define its core behavior. It is a plain text file made up of configurable settings written as key-value pairs, where each value determines how the server operates.
This file is automatically created when a Minecraft server is started for the first time. If the file is missing, the server will regenerate it using default values based on the current server version.
Each setting in the file follows a simple format:
property-name=value
For example:
max-players=20
difficulty=normal
pvp=true
Important: When you start the server for the very first time, it will automatically generate required files such as server.properties and eula.txt, then immediately stop.
Before the server can fully start, you must open the eula.txt file and change:
eula=false
to:
eula=trueSave the file and start the server again. Many new server owners get stuck at this step because the server appears to "crash," but it is actually waiting for EULA acceptance.
These values control essential server functions such as player limits, game difficulty, world behavior, networking, and permission handling.
Beyond basic gameplay configuration, the server.properties file allows administrators to define game rules and modes such as Player versus Player (PvP), Nether access, spawn protection, and seed selection. It also manages world creation and customization options, including level type, biome and structure generation, world borders, and spawn locations.
The file also plays a critical role in server security and performance optimization. Security-related settings such as online mode enforcement, whitelisting players, IP logging and banning, spawn protection levels, and enforced game modes help protect the server from unauthorized access. Performance-focused options, including tick rate limits, view distance, maximum player count, entity broadcast distance, and chunk loading behavior, can be adjusted to reduce lag and maintain stability, even under heavy player load.
The server.properties file is read during server startup, and all changes require a full server restart to take effect. Incorrect values or formatting errors can prevent the server from starting or cause unexpected behavior, making careful configuration essential.
In practice, server.properties serves as the foundation of Minecraft server configuration. While plugins and Minecraft mods can extend functionality, the core rules, limits, and performance characteristics of a server are always defined here.
Where to Find and Edit the server.properties File?
The server.properties file is located in the root directory of your Minecraft server, alongside files such as server.jar, eula.txt, and the logs folder. This location is the same for both locally hosted and VPS-based servers.
Linux (VPS or Dedicated Server)
:
Typically found in the server installation directory
Example:
/home/minecraft/server/server.properties
- macOS:
Located in the directory where the server was extracted and launched
How to Edit server.properties Safely?
The server.properties file can be edited using any plain text editor.
Recommended editors:
- Notepad++ (Windows)
- nano or vim (Linux)
- VS Code or TextEdit (plain text mode)
Before editing:
- Stop the Minecraft server completely
- Create a backup copy of server.properties
- Open the file in a text editor
- Modify only the values after the = sign
- Save the file without changing its name or extension
Restart vs Reload
Most changes made in server.properties require a full server restart to take effect. Reloading the server or using in-game commands will not apply most configuration changes.
If the server fails to start after editing:
- Check for spelling errors in property names
- Ensure values use the correct format (true/false, numbers, or text)
- Restore the backup file if necessary
Editing the server.properties file carefully ensures that configuration changes are applied correctly without causing startup or stability issues.
Highlight the below section
Your players don’t quit because they’re bored; they quit because of lag.
Give them lightning-fast performance, zero crashes, and smooth gameplay 24/7.
How to Access the Minecraft server.properties File Through FTP?
If your Minecraft server is hosted on a VPS or shared hosting environment, you may not have direct file system access. In such cases, you can access and edit the server.properties file using FTP (File Transfer Protocol).
FTP allows you to connect to your server remotely and manage files securely.
Step 1: Get Your SFTP Login Details from the Game Panel
Log in to your hosting account and open your Game Panel or Server Dashboard.
- Navigate to the File Manager or Server Access section.
- Look for an option such as SFTP Access, FTP Details, or Connect via SFTP.
- Open the SFTP information window.
You will see the following details:
- Host (Server IP or domain)
- Port (usually 22 for SFTP)
- Username
- Password
Keep this information ready, as you will need it to connect through your FTP client.
Step 2: Open Your FTP Client
Launch your FTP client application. In this guide, we will use FileZilla, but the steps are similar for other clients like WinSCP.
Step 3: Create a New SFTP Connection in FileZilla
- In FileZilla, click on File > Site Manager.
- Select New Site to create a new connection profile.
- Choose SFTP – SSH File Transfer Protocol as the protocol.
- Enter your connection details:
- Host
- Port (typically 22)
- Username
- Password
- Click Connect.
If the credentials are correct, FileZilla will establish a secure connection to your server.
Step 4: Locate the server.properties File
Once connected, the right-hand panel (Remote Site) will display your server’s directory structure.
Navigate to the main Minecraft server folder. This is usually the directory containing:
- server.jar
- eula.txt
- logs
- world folder
Inside this directory, you will find the file:
server.properties
Step 5: Edit the File
To modify the file:
- Right-click on server.properties.
- Select View/Edit.
- The file will open in your default text editor.
- Make the necessary changes.
- Save the file.
Your FTP client will automatically upload the updated version back to the server.
Step 6: Restart the Server
After editing:
- Return to your Game Panel.
- Stop the Minecraft server.
- Start it again.
Most configuration changes in server.properties require a full restart to apply properly.
Key Settings in the server.properties File
The server.properties file contains numerous configurable options, but some settings have a direct and significant impact on gameplay, performance, world behavior, and server security. Understanding these key properties allows you to properly configure and optimize your Minecraft server.
1. Gameplay Settings
gamemode
Sets the default game mode for players when they first join the server.
Options:
- survival
- creative
- adventure
- spectator
This setting applies to new players joining for the first time. Existing players retain their previous game mode unless force-gamemode=true is enabled.
- Use survival for SMP servers.
- Use creative for build-focused servers.
- Avoid forcing game mode unless necessary.
difficulty
Controls overall game difficulty.
Options:
- peaceful – No hostile mobs, no hunger
- easy – Reduced mob damage
- normal – Balanced gameplay
- hard – Increased mob damage and survival challenge
Affects mob spawn behavior, damage levels, hunger mechanics, and certain game mechanics (like zombie reinforcements in Hard mode).
Most public servers use normal or hard settings for balanced multiplayer gameplay.
pvp
Enables or disables Player vs Player combat.
Values:
- true – Players can attack each other
- false – PvP disabled globally
Disabling PvP prevents combat damage between players but does not affect mobs.
hardcore
Enables Hardcore mode.
Values:
- true – Permanent death, locked to Hard difficulty
- false – Standard gameplay
Players are permanently banned upon death (unless manually unbanned).
Use Case:
Best suited for challenge-based or event servers.
allow-flight
Prevents players from being kicked for flying.
Values:
- true
- false
Why it matters:
If players move unusually (lag, elytra, plugins), the server may detect “flying” and kick them. Enabling this prevents that.
Recommended:
Enable if using Creative mode or plugins that allow flight.
2. Player & Access Control Settings
max-players
Purpose: Sets the maximum number of simultaneous players.
Default: 20
Important Note:
This does not increase server capacity automatically. Hardware resources determine actual performance.
Best Practice:
Match this value with your server RAM and CPU capabilities.
online-mode
Purpose: Enables Mojang account authentication.
Values:
- true – Only premium accounts allowed
- false – Allows cracked/offline accounts
Security Impact:
Setting this to false reduces security and allows username spoofing.
Strong Recommendation:
Keep online-mode=true for public servers.
white-list
Purpose: Restricts server access to approved players only.
Values:
- true
- false
When enabled, only players added to the whitelist can join.
allow-nether (true / false)
This setting controls whether players can access the Nether dimension on your server.
- true – Players can build Nether portals and travel to the Nether.
- false – The Nether dimension is completely disabled.
Disabling the Nether can improve performance on low-resource servers and is useful for custom survival or challenge-based worlds where multi-dimension access is restricted.
spawn-protection (Any positive number)
This option defines the protected radius (in blocks) around the world spawn point where non-operator players cannot place or break blocks.
For example, if set to 16, players cannot modify blocks within 16 blocks of the spawn area.
Additional Info:
- Setting it to 0 disables spawn protection.
- This feature helps prevent griefing near spawn.
- Only server operators (OPs) can bypass this restriction.
level-seed
The level-seed determines the world generation pattern, including terrain layout, biome distribution, villages, and structures.
You can enter:
- A custom word (e.g., MyWorld2026)
- A number (e.g., 123456789)
- Or leave it blank for a random seed
Using the same seed across multiple servers will generate identical worlds (on the same Minecraft version). This is useful for shared maps, speedrunning communities, or multiplayer consistency.
enforce-whitelist
Forces whitelist rules immediately, even for currently online players.
player-idle-timeout
Purpose: Kicks players after being inactive for a specified time (in minutes).
Default: 0 (disabled)
Useful for freeing slots on busy servers.
How to configure the server.properties file?
The server.properties file controls your Minecraft server’s core behavior, including gameplay rules, security settings, and performance options.
Before making any changes, always stop the server and create a backup copy. Having a backup ensures you can quickly restore the original configuration if something goes wrong.
Creating a Backup Using an FTP Client
If you manage your server via FTP (for example, using FileZilla), follow these steps:
- Open your FTP client and connect to your Minecraft server using File > Site Manager.
- Once connected, navigate to your Minecraft server directory in the Remote Site panel.
- Locate the server.properties file.
- Right-click the file and choose Download to save a copy on your local computer.
This backup acts as a safety net in case you need to revert to the previous configuration.
Editing the server.properties File
There are two main ways to edit the file: locally on your computer, FTP, or directly through your hosting control panel.
Option 1: Edit Locally
- Open the downloaded server.properties file using a text editor such as Notepad, VS Code, or any plain-text editor.
- Modify the desired settings.
- Save the file after making changes.
Option 2: Edit via FTP
You can also:
- Open your hosting panel’s File Manager and edit the file directly.
- Or right-click server.properties in your FTP client and select View/Edit, which opens the file in your local editor.
Understanding Property Values
Each setting inside server.properties follows a simple format:
property-name=value
For example, the difficulty setting may appear as:
difficulty=easy
You can change the value to:
- peaceful
- easy
- normal
- hard
Another example is the whitelist setting:
white-list=true
If set to true, only players added to the whitelist can join the server. Changing it to false allows anyone with the IP address to connect.
Some settings use numbers (like max-players=20), while others use boolean values (true or false). Make sure you only modify the value portion and keep the formatting intact.
Saving and Uploading Your Changes
If you edited the file directly in your hosting panel, simply click Save to apply the modifications.
If you edited the file locally:
- Return to your FTP client.
- Drag the updated server.properties file from the Local Site panel.
- Drop it into the same directory on the Remote Site where it was originally located.
- Wait for confirmation that the file transfer was successful.
Double-check that the updated file appears in the server directory to confirm the upload completed correctly.
Restarting the Minecraft Server
Changes will not take effect until the server is restarted.
You can restart the server using:
Control Panel Method
Navigate to your hosting dashboard, open your VPS or game server management section, and select Reboot or Restart.
SSH Method (Advanced Users)
If you have SSH access, connect to your server and run:
systemctl restart minecraft
This command restarts the Minecraft service directly from the terminal.
What You Can Do from the Server Console?
The server console acts as the command hub of your Minecraft server.
At the bottom of the console window, you’ll find a command input field where you can type and execute server commands instantly.
Here are a few commonly used examples:
- /say Hello, players!
Broadcasts a custom message to everyone online. - /save-all
Forces the server to save the world data immediately, helping prevent data loss. - /list
Displays all players currently connected to the server.
These commands allow you to manage gameplay, assist players, and maintain control without logging in.
Performance Optimization Settings
Fine-tuning performance ensures smoother gameplay, especially on VPS or limited-resource servers.
1. view-distance
Recommended: 6–10
This setting determines how many chunks the server loads around each player. Higher values increase world visibility but also place greater strain on CPU and RAM.
- Default is usually 10
- Lowering it to 6–8 significantly reduces server load
- Ideal for VPS hosting with moderate resources
2. simulation-distance (Newer Versions)
Controls how far entities and redstone mechanics remain active around players. Lowering this reduces background processing and improves performance on busy servers.
3. max-tick-time
Recommended: 30000 (30 seconds)
Minecraft runs at 20 ticks per second. If a single tick takes too long, the server may freeze or crash.
- Default is typically 60000 milliseconds
- Setting it to 30000 helps detect overloads faster
- For heavy modded servers, you can disable the limit using -1
Adjust carefully; modded environments may require flexibility.
4. max-players
Recommended: Based on RAM (20 is a safe start)
Limiting the number of simultaneous players prevents excessive CPU and memory usage. The right number depends on:
- Installed RAM
- Plugins/mods
- View distance
- World complexity
Always scale this according to your VPS capacity.
Useful Administrative Commands for Security
Beyond server.properties, the console offers powerful management commands:
- /op [username] – Grant operator access
- /deop [username] – Remove operator privileges
- /ban [username] – Permanently ban a player
- /pardon [username] – Remove a ban
- /ban-ip [IP address] – Block an IP address
- /kick [username] – Remove a player from the server
- /whitelist add [username] – Add player to whitelist
- /whitelist remove [username] – Remove player from whitelist
These commands help maintain order and protect your server from griefers and rule-breakers.
Conclusion
Fine-tuning your server.properties file gives you full control over how your Minecraft server performs and feels. With the right adjustments, you can enhance gameplay, strengthen security, and reduce lag — creating a smoother and more enjoyable experience for every player. As your server grows, having the right hosting foundation becomes essential to support higher traffic and heavier customizations.
A powerful VPS with fast storage and reliable network speeds ensures your server runs consistently, even with mods, plugins, or large player communities. The better your infrastructure, the more freedom you have to experiment with settings without worrying about crashes or slowdowns.
Take the time to explore and optimize your configuration. Small tweaks can make a big difference in stability, performance, and overall player satisfaction — helping you build a Minecraft server that truly stands out.
Frequently Asked Questions
1. What is the server.properties file in Minecraft?
The server.properties file is the main configuration file that controls how your Minecraft server behaves. It manages gameplay settings, performance limits, security options, and player access rules.
2. Do I need to restart the server after editing server.properties?
Yes. Any changes made to the file will only take effect after you restart your Minecraft server. Always stop the server before editing to prevent errors.
3. What is the best view-distance setting for performance?
For most VPS servers, a view-distance between 6 and 8 offers a good balance between smooth performance and gameplay experience. Higher values may cause lag if your server has limited resources.
4. How much RAM do I need for a Minecraft server?
For small servers with 5–10 players, 2–4GB RAM is usually sufficient. Larger communities, modpacks, or heavy plugins may require 6GB, 8GB, or more, depending on activity.
5. Should I enable online-mode on my server?
Yes, especially for public servers. Enabling online-mode=true ensures players are authenticated, helping prevent fake accounts and unauthorized access.
6. How can I reduce lag on my Minecraft server?
You can reduce lag by lowering view-distance, limiting max-players, optimizing plugins, and ensuring your VPS has adequate CPU and RAM resources.
7. Is a VPS better than shared hosting for Minecraft?
Yes. A VPS provides dedicated resources, better performance, and full control over server configurations, making it ideal for growing Minecraft communities.
About the Author: Jason-Pat
Founder & CTO at AccuWebHosting.com. He shares his web hosting insights at AccuWebHosting blog. He mostly writes on the latest web hosting trends, WordPress, storage technologies, Windows and Linux hosting platforms.